
Dashboard
Это содержимое пока не доступно на вашем языке.
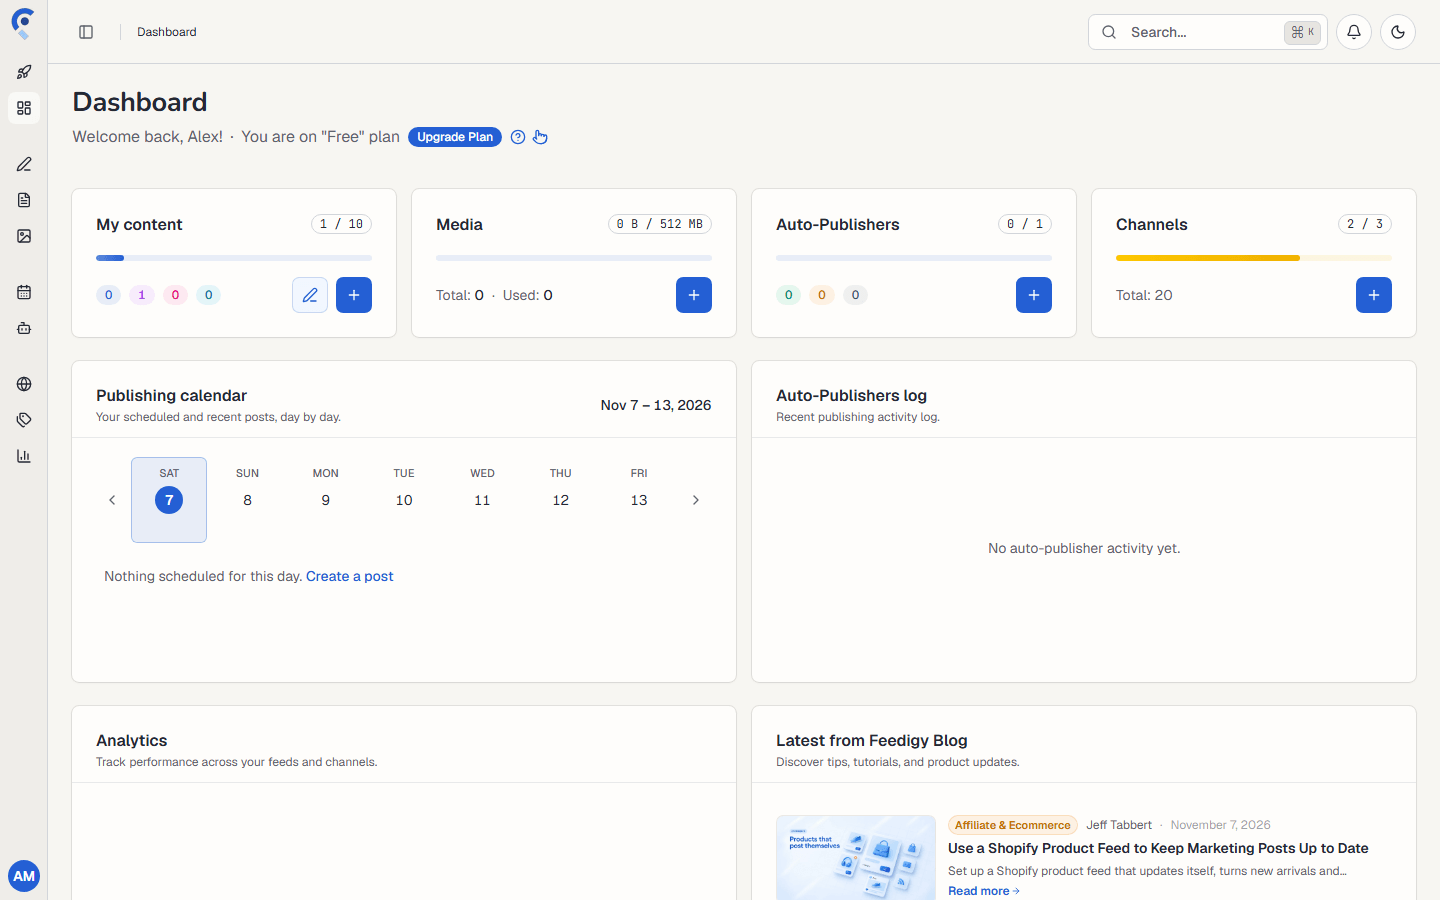
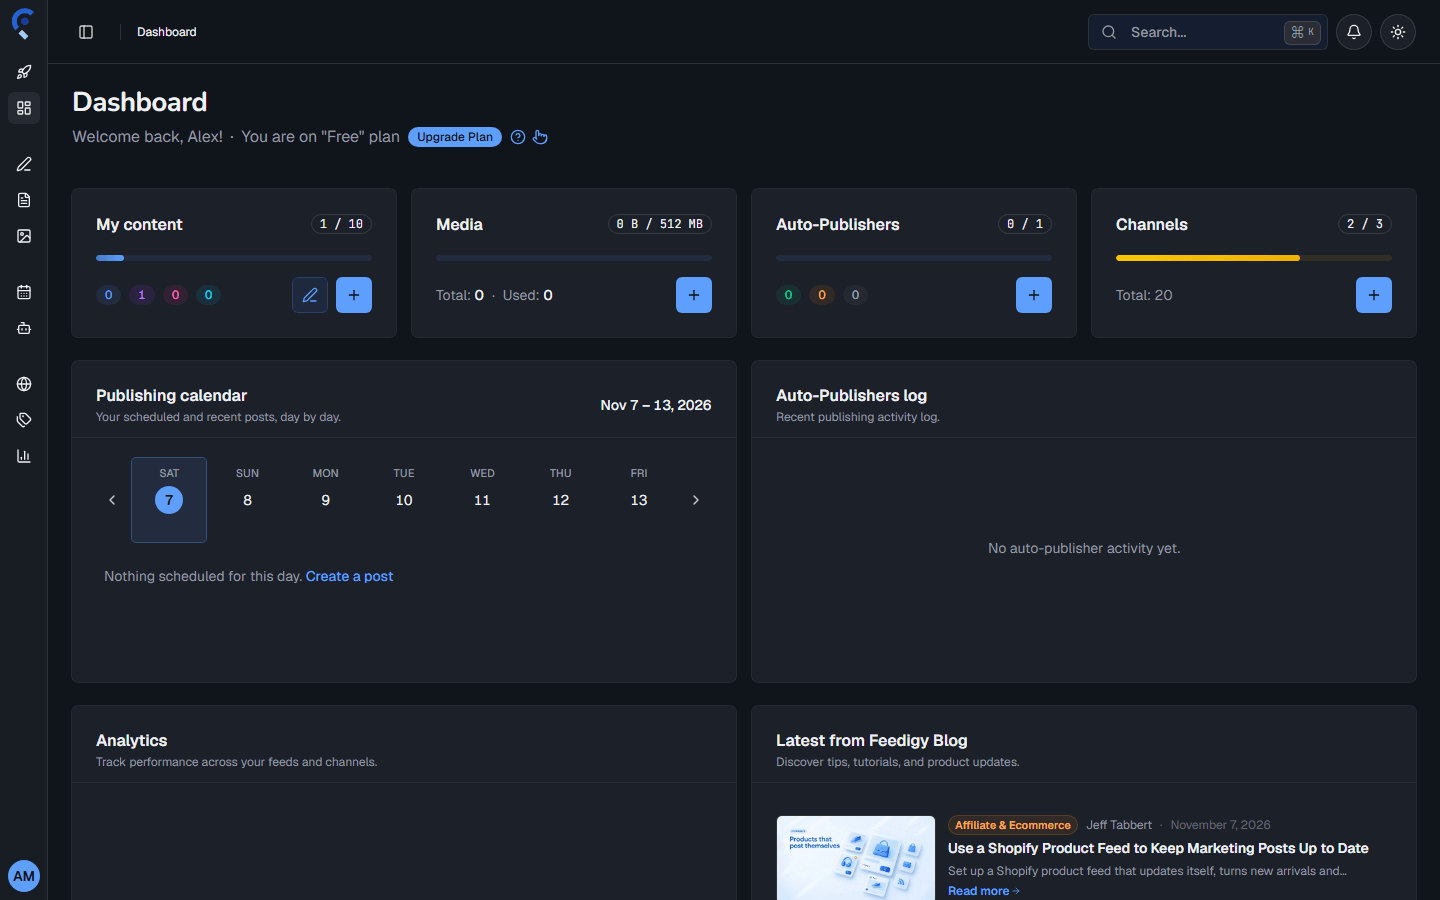
The Dashboard is the first page you see after you sign in. It shows how much of your plan you use, what is about to publish, what your Auto-Publishers did recently, and the latest posts from the Feedigy blog. Select any card title to open that part of Feedigy.
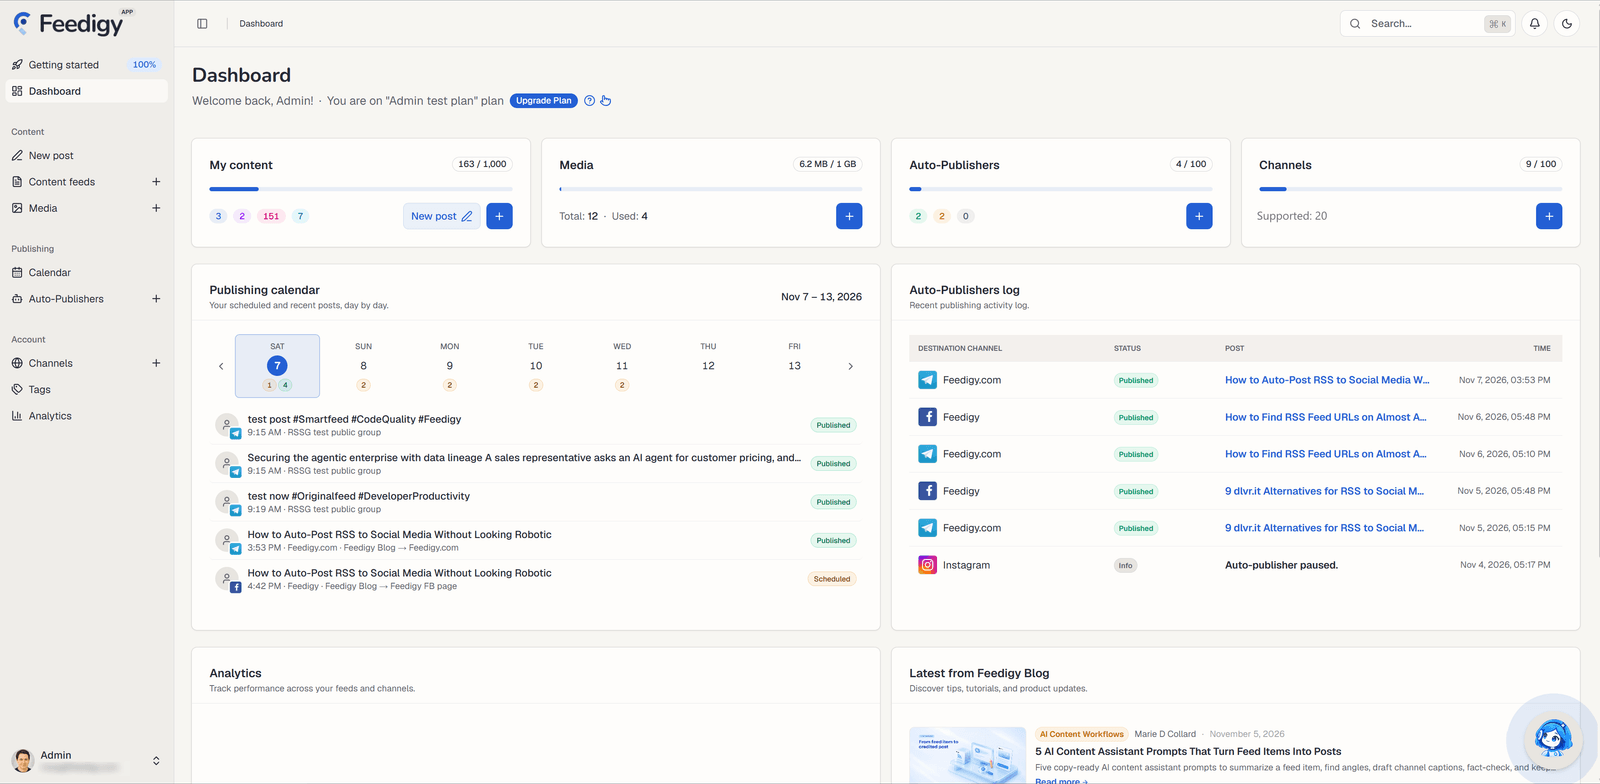
Below the page title you see a greeting, the name of your current plan and an Upgrade Plan badge that opens the plans page. The question mark opens this manual in a side panel, and the hand icon starts the Dashboard’s guided tour.
The header
Section titled “The header”The header stays at the top of every page in Feedigy.


From left to right:
- Sidebar button: shows or hides the sidebar. See The sidebar.
- Breadcrumbs: where you are, for example Dashboard › Auto-Publishers › Edit. Select an earlier step to go back to it.
- Search: finds anything in your account. See Global search.
- Notification bell: alerts about your account. See Notifications.
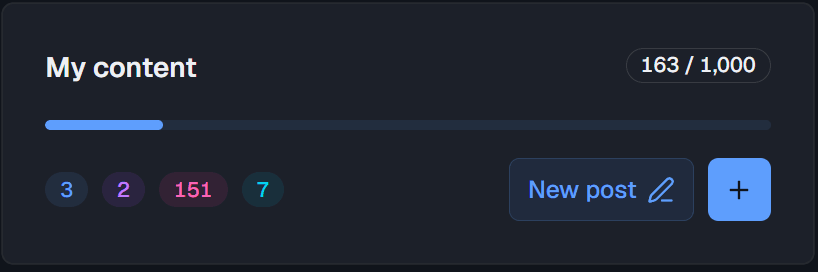
- Theme switch: switches between light and dark mode. See Light and dark mode.
Global search
Section titled “Global search”Select Search… or press Ctrl + K (⌘ + K on a Mac) on any page. Press the same keys again, or Esc, to close it.
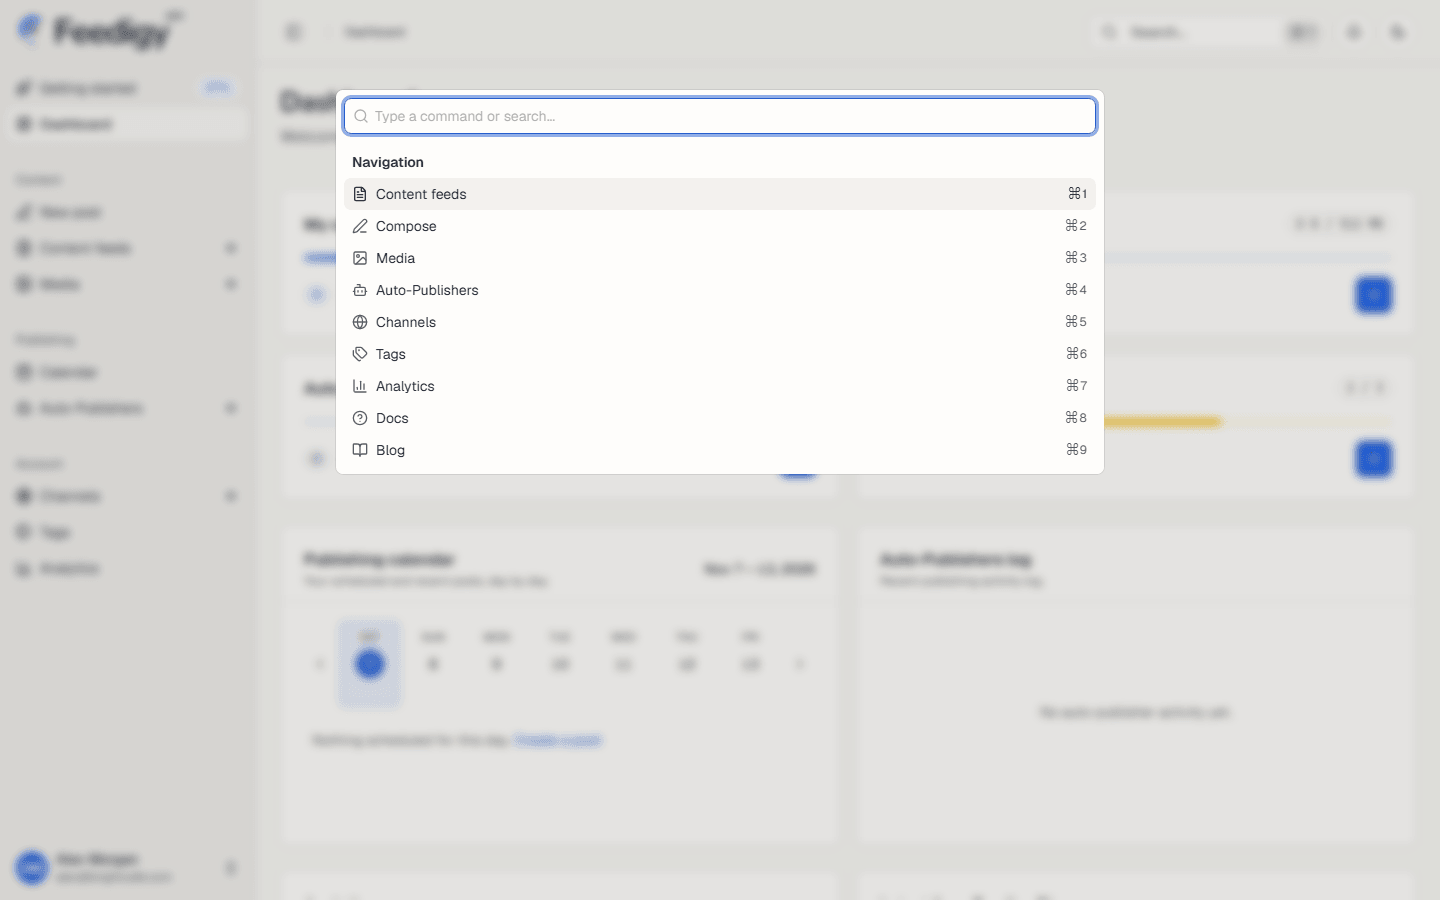
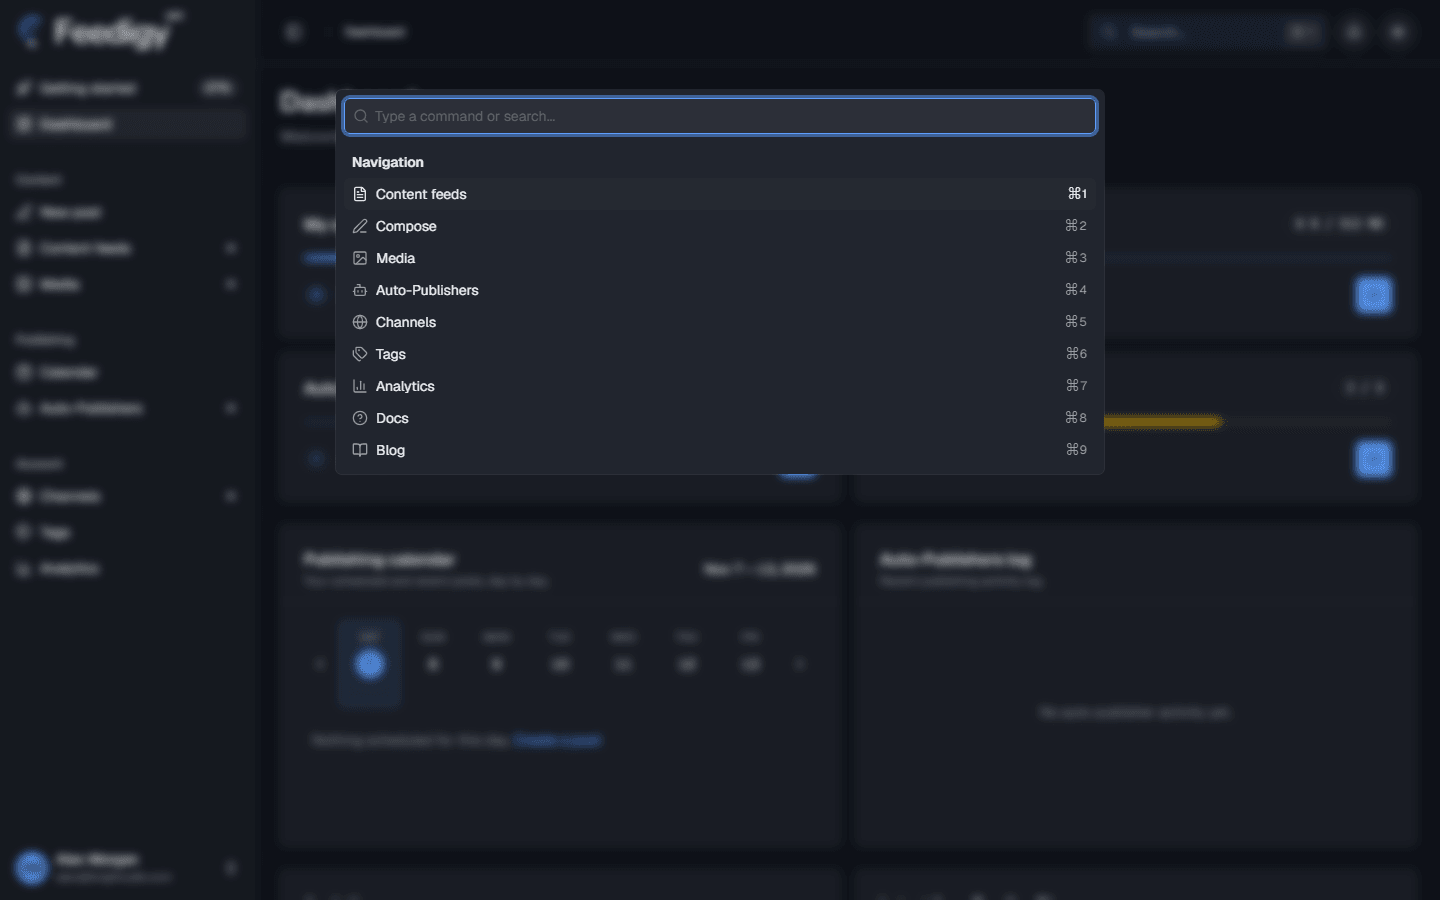
- Before you type, the window lists the main pages. Select one, or press Ctrl + 1 to Ctrl + 9 (⌘ + 1 to ⌘ + 9) to jump straight to it: Content feeds, Compose, Media, Auto-Publishers, Channels, Tags, Analytics, Docs and Blog.
- Type at least 2 characters to search your account. Results come in groups: My content (your feeds), Tags, Posts, Images, Channels, Auto-publishers, Docs and Blog.
- Use the arrow keys and Enter, or select a result, to open it.
Notifications
Section titled “Notifications”The bell collects alerts that need your attention. A red dot on the bell means you have unread notifications. Feedigy checks for new ones every minute while the page is open.
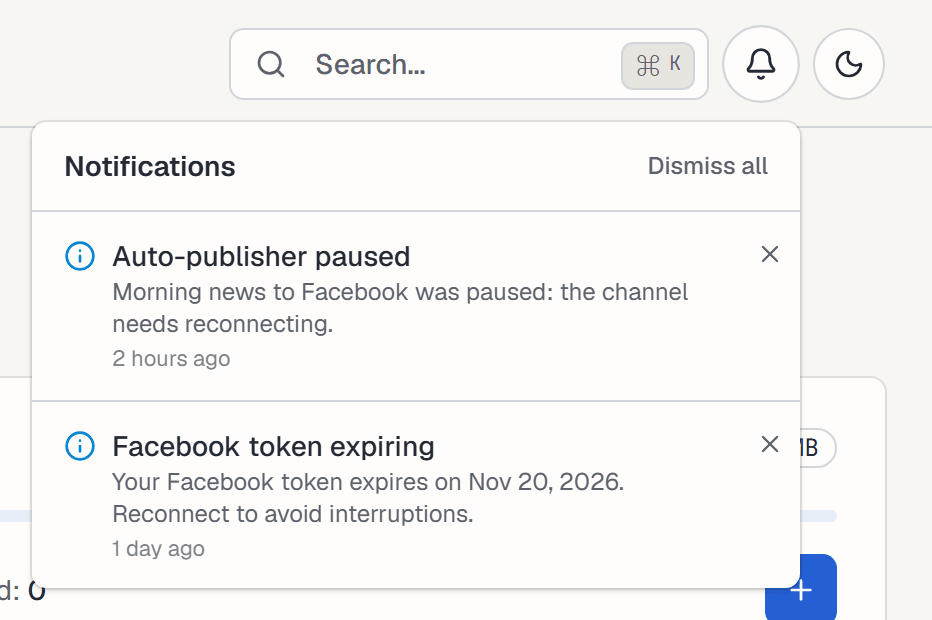
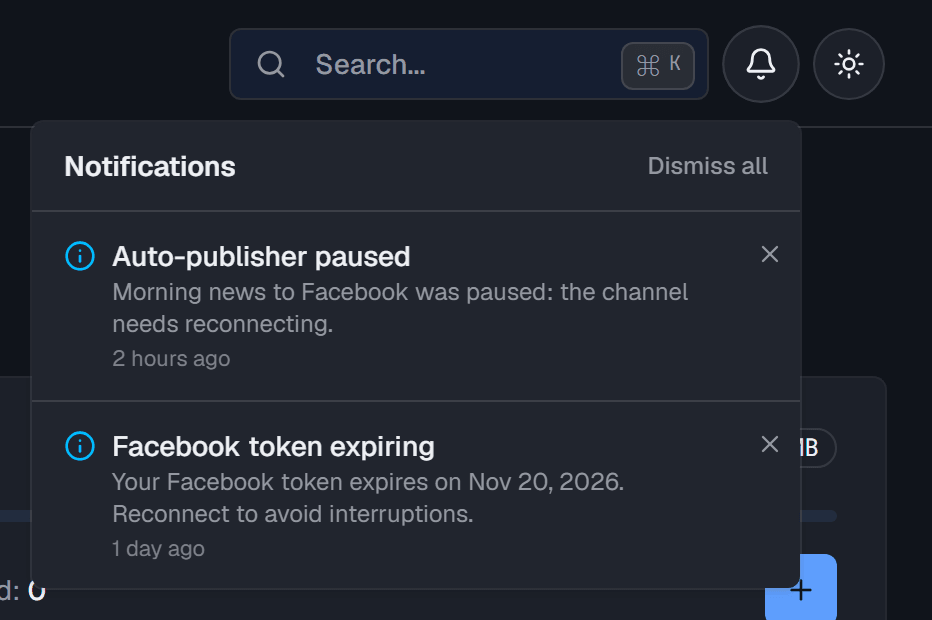
- Open the bell to see your notifications, newest first. Opening the panel marks them all as read, so the red dot goes away.
- A red dot next to a notification means it was unread when you opened the panel.
- Select a notification to go to the page it is about, for example the Auto-Publisher that stopped or the channel to reconnect.
- Select × to remove one notification, or Dismiss all to clear the list.
Typical notifications:
| About | Examples |
|---|---|
| Auto-Publishers | An Auto-Publisher was paused, stopped with an error or raised a warning. |
| Posts | A scheduled post failed, was missed, or was sent but not confirmed by the channel. |
| Channels | A channel needs reconnecting, its access token expires soon, or it was turned off because you are over your plan limit. |
| Feeds | A smart feed could not refresh. |
| Billing | A payment failed, your subscription renews soon, your plan changed, or AI credits were added or removed. |
| Account | Your account was downgraded, or it may be deleted after a long time without use. |
Light and dark mode
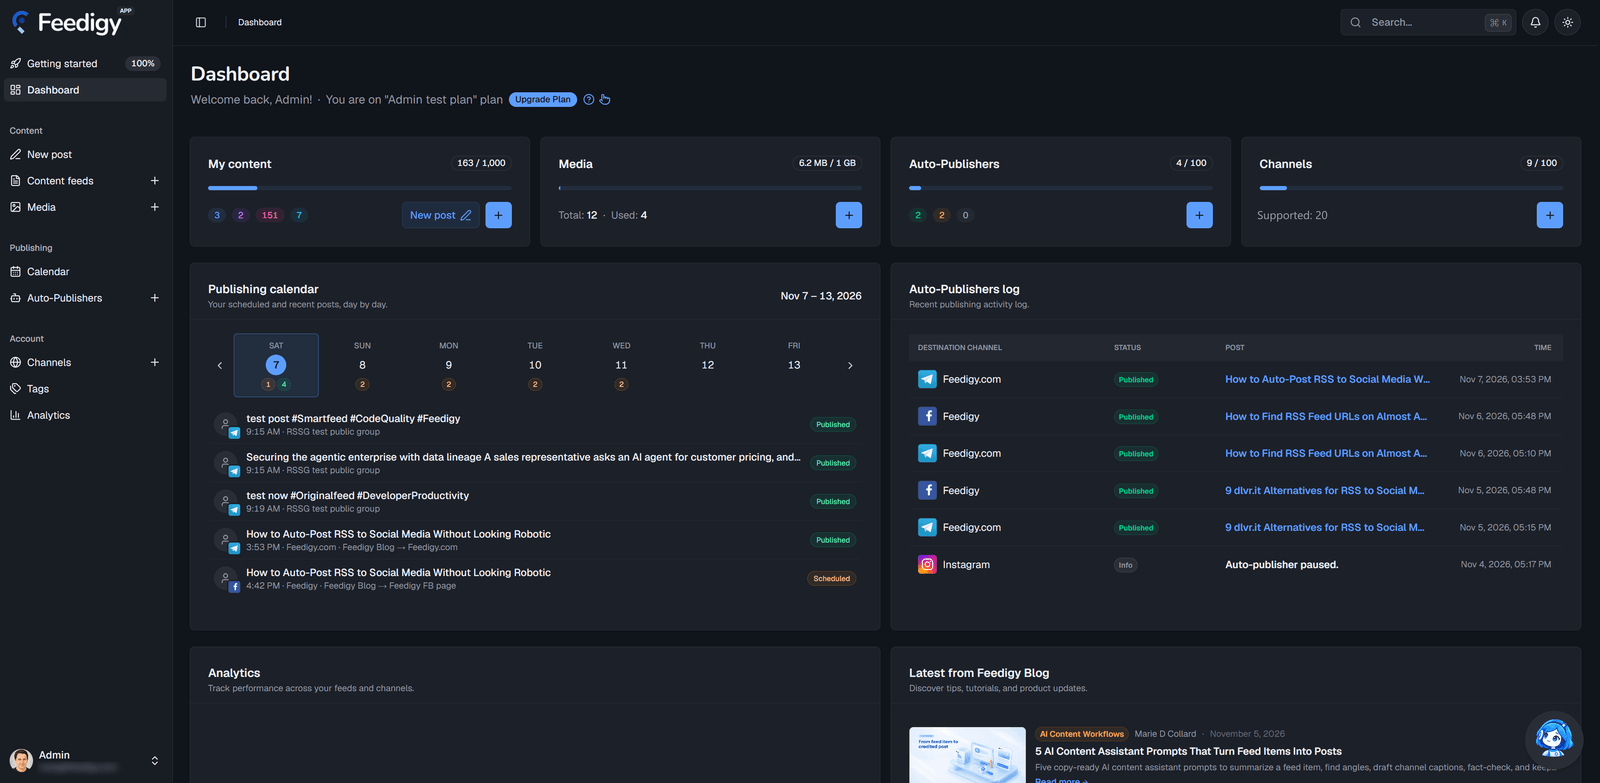
Section titled “Light and dark mode”Select the moon icon to switch to dark mode, or the sun icon to switch back to light mode.
- Until you choose, Feedigy follows your device’s setting and changes with it.
- After you choose, Feedigy remembers your choice in this browser. The Feedigy website, blog and these docs use the same choice.
The sidebar
Section titled “The sidebar”The sidebar on the left holds the links to every part of Feedigy, grouped into Content, Publishing and Account. A + next to a link creates a new item of that type, for example a new feed or a new Auto-Publisher. Your name at the bottom opens your profile, billing, settings and sign-out.
Collapse the sidebar
Section titled “Collapse the sidebar”Collapse the sidebar to give the page more room. When collapsed, it shows only icons. Point at an icon to see its name, and select it to open the page.
To collapse or expand it, do one of these:
- Select the sidebar button at the left of the header.
- Press Ctrl + B (⌘ + B on a Mac).
- Select the right edge of the sidebar.
On a phone, the sidebar is hidden. Select the sidebar button to open it over the page.
Change the sidebar width
Section titled “Change the sidebar width”Point at the right edge of the sidebar until a small handle appears. Drag the edge left or right to make the sidebar narrower or wider. It can be between 208 and 480 pixels wide.
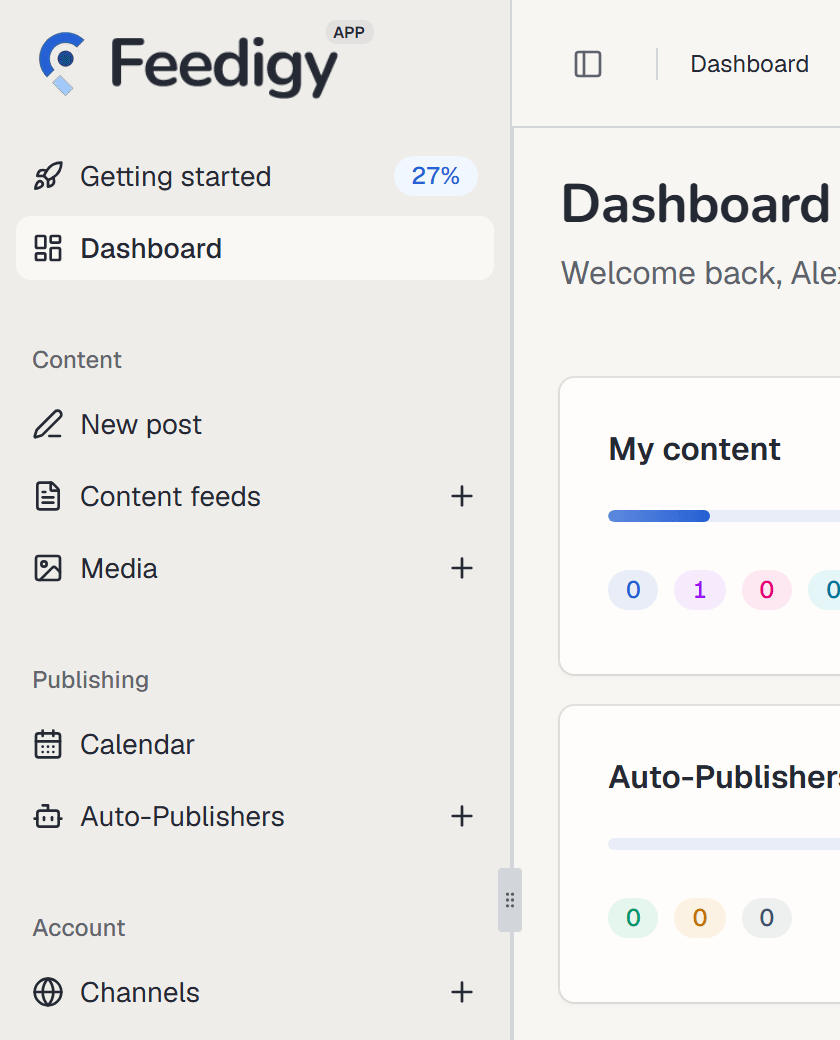
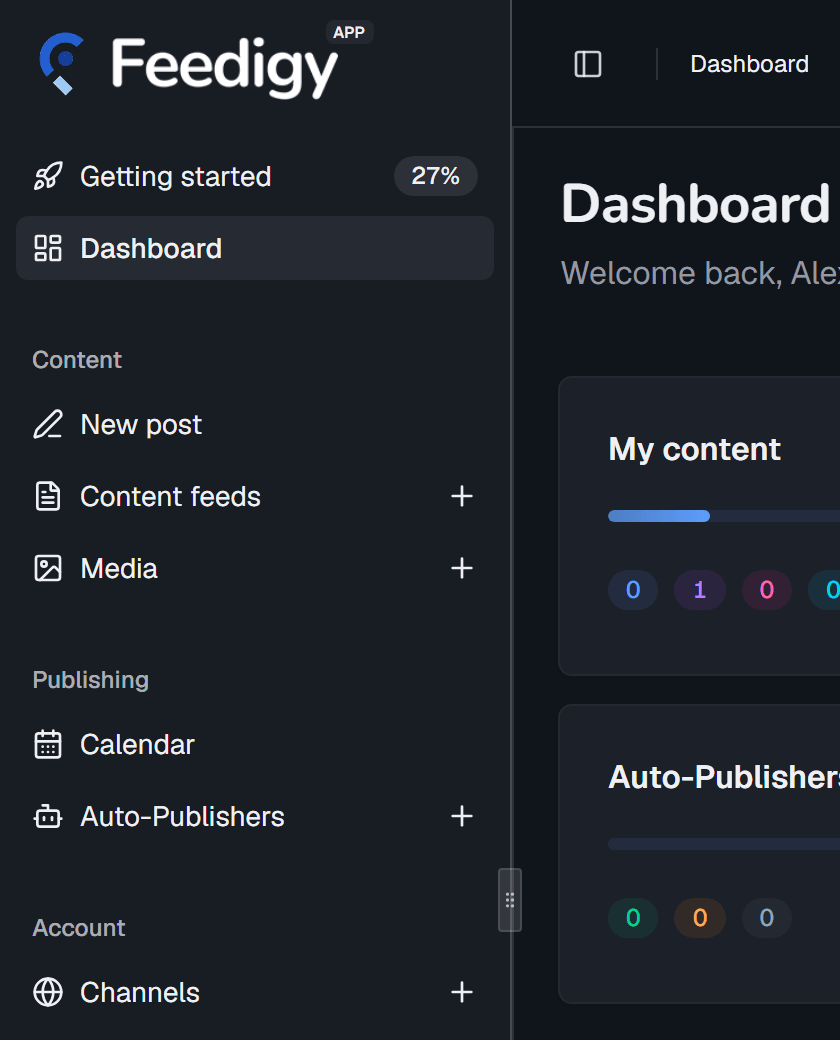
Feedigy remembers the width and whether the sidebar is collapsed in this browser, so it stays the same on every page.
Usage cards
Section titled “Usage cards”The four cards at the top show how much of your plan you use. They work the same way:
- The counter at the top right reads used / limit. For example, 163 / 1,000 on My content means you have 163 feeds and your plan allows 1,000.
- The bar fills as you use more. It is blue below 60% of your limit, yellow from 60% and red from 80%. When you reach the limit, Feedigy offers an upgrade or an addon instead of creating more.
- The coloured numbers at the bottom split the total into types or statuses. Point at one to see what it counts, and select it to open the matching list.
- The + button creates a new item of that type.
My content
Section titled “My content”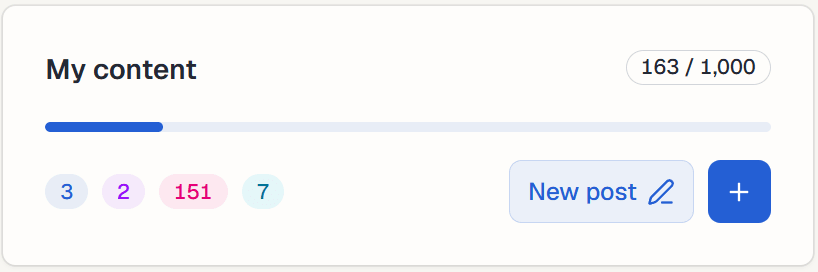
-
Counter: all your content feeds, of every type, against your plan’s feed limit.
-
Coloured numbers, from left to right:
- Blue: original feeds, the posts you write yourself.
- Purple: smart feeds that Feedigy builds and refreshes for you.
- Pink: discovery feeds you follow from other sites.
- Cyan: feeds you imported.
In the example above, the account has 3 original, 2 smart, 151 discovery and 7 imported feeds: 163 in total.
-
New post starts a new post. + adds a new feed.
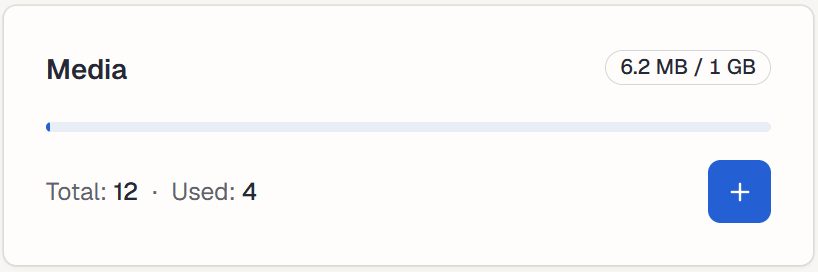
- Counter: the storage your images use against your plan’s storage limit, for example 6.2 MB / 1 GB.
- Total: how many items are in your media library.
- Used: how many of those items your content uses right now. The difference is media you uploaded or generated but have not used yet. In the example above, 8 of the 12 items are not used anywhere.
- + opens a menu: Upload a file, Generate with AI, or pick a photo from Unsplash.
Auto-Publishers
Section titled “Auto-Publishers”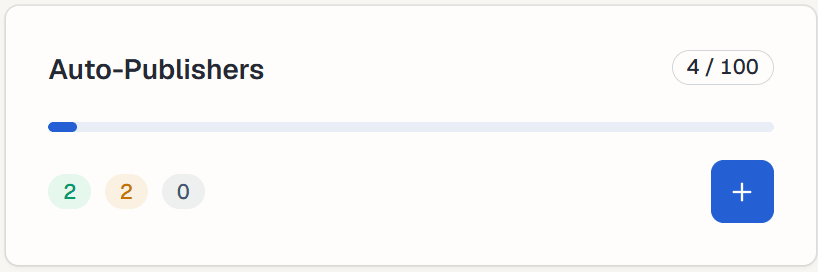
-
Counter: all your Auto-Publishers against your plan’s limit. Drafts and paused ones count too.
-
Coloured numbers, from left to right:
- Green: running. These publish on their schedule.
- Amber: paused. These keep their settings but do not publish.
- Grey: drafts you have not finished setting up.
In the example above, 2 Auto-Publishers are running, 2 are paused and none are drafts.
-
+ creates a new Auto-Publisher.
Channels
Section titled “Channels”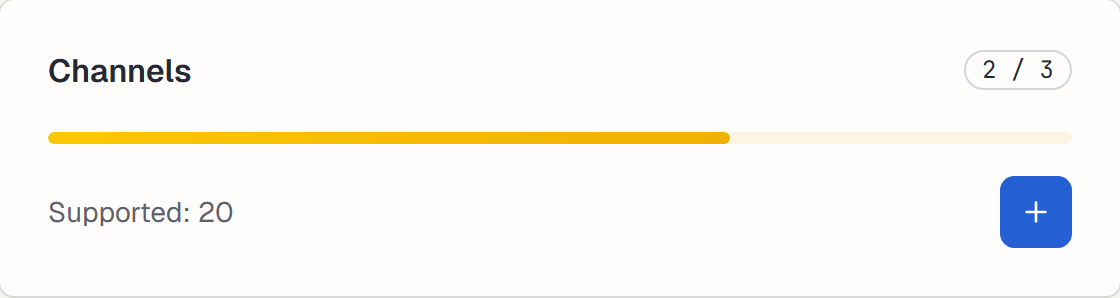
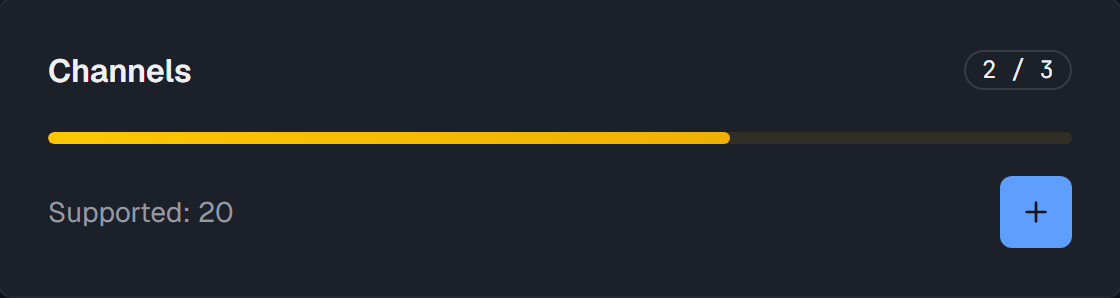
- Counter: your connected channels against your plan’s channel limit. Only usable connections count. A Telegram bot does not count, but each Telegram chat you publish to does. A Blogger account does not count, but each blog does.
- Supported: how many channel types Feedigy supports, such as Facebook, Telegram or WordPress.
- + opens the list of channels you can connect. See What are channels?.
Publishing calendar
Section titled “Publishing calendar”The calendar card shows seven days of posts at a glance, starting today.
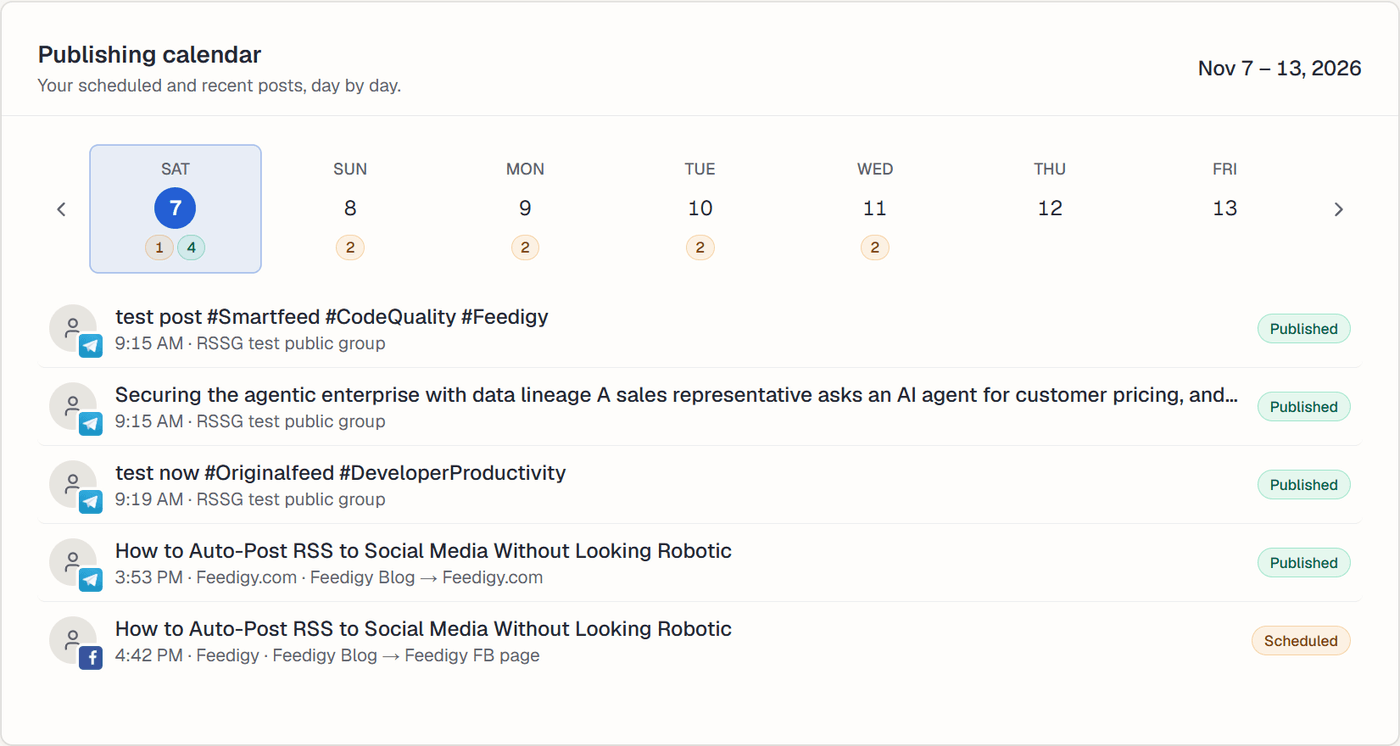
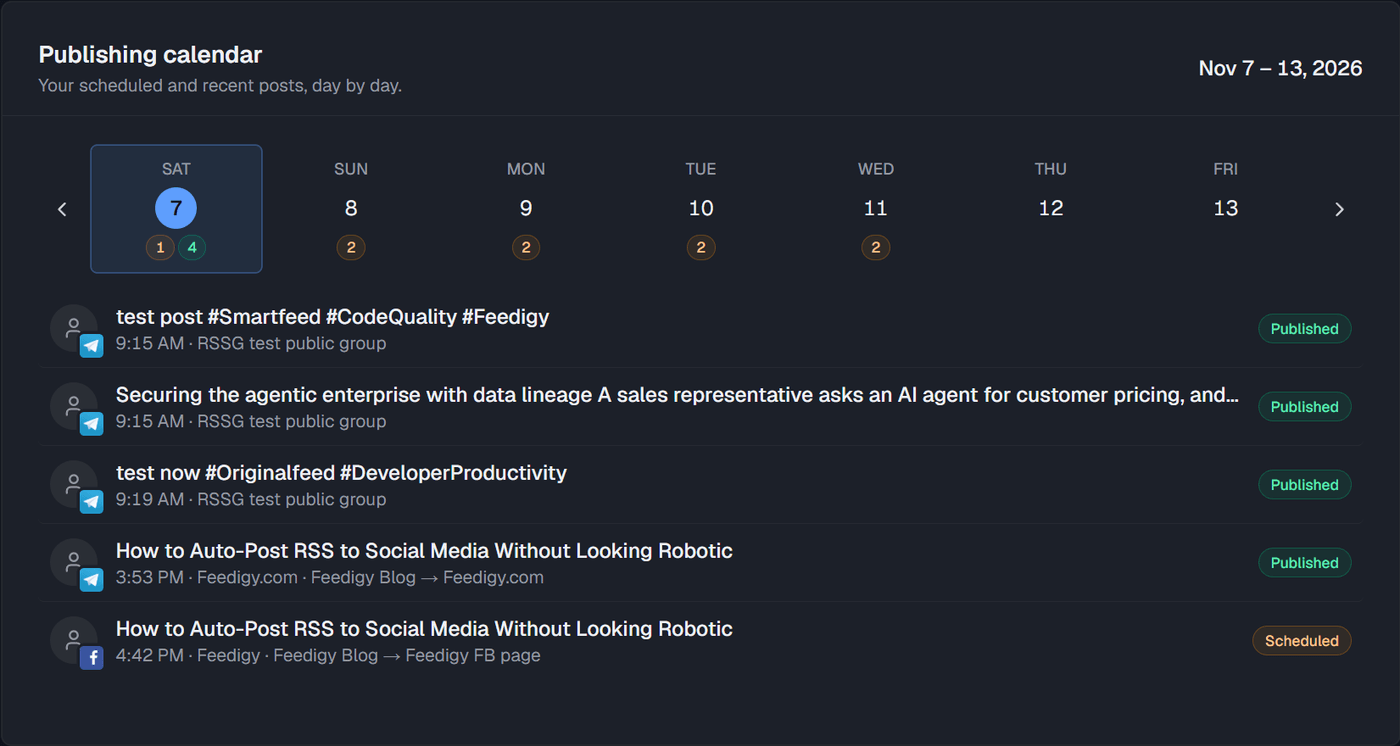
- The day strip shows each day of the week. Today’s date has a filled circle. Under each day, small coloured numbers count that day’s posts by status: Scheduled, Drafts, Published, Unconfirmed and Failed. Point at the numbers to see them spelled out. A count above 99 shows as 99+.
- Select a day to list its posts below the strip. Each row shows the post title, time, channel and the Auto-Publisher that made it, with a status badge. A Held badge means you held the run as a draft: it stays on the calendar but never publishes on its own. When an Auto-Publisher runs many times a day, its runs share one row, and Runs shows how many there are.
- Select a post to open that day in the full Calendar. If a day has more posts than fit, select +N more.
- Arrows move one week back or forward, up to a year either way. Today brings you back to the current week.
- The warning box appears above the strip when posts in the last 7 days failed or were not confirmed by the channel. Select Review to open the most recent day with a problem.
When you open the Dashboard, the card selects today. If today has no posts, it selects the first day of the week that has some. Times follow the clock format you chose in the Calendar settings.
Auto-Publishers log
Section titled “Auto-Publishers log”The log lists the 6 most recent things your Auto-Publishers did. Until your first Auto-Publisher runs, it reads No auto-publisher activity yet.
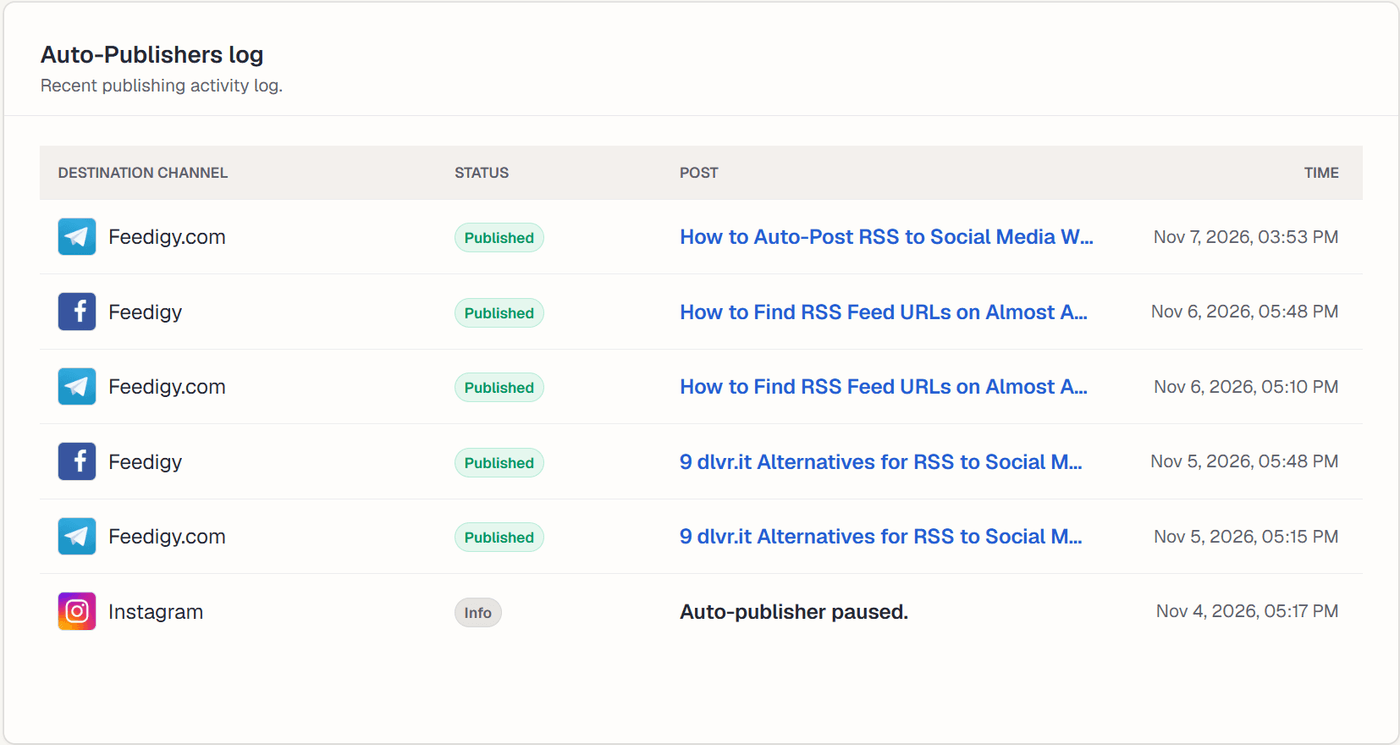
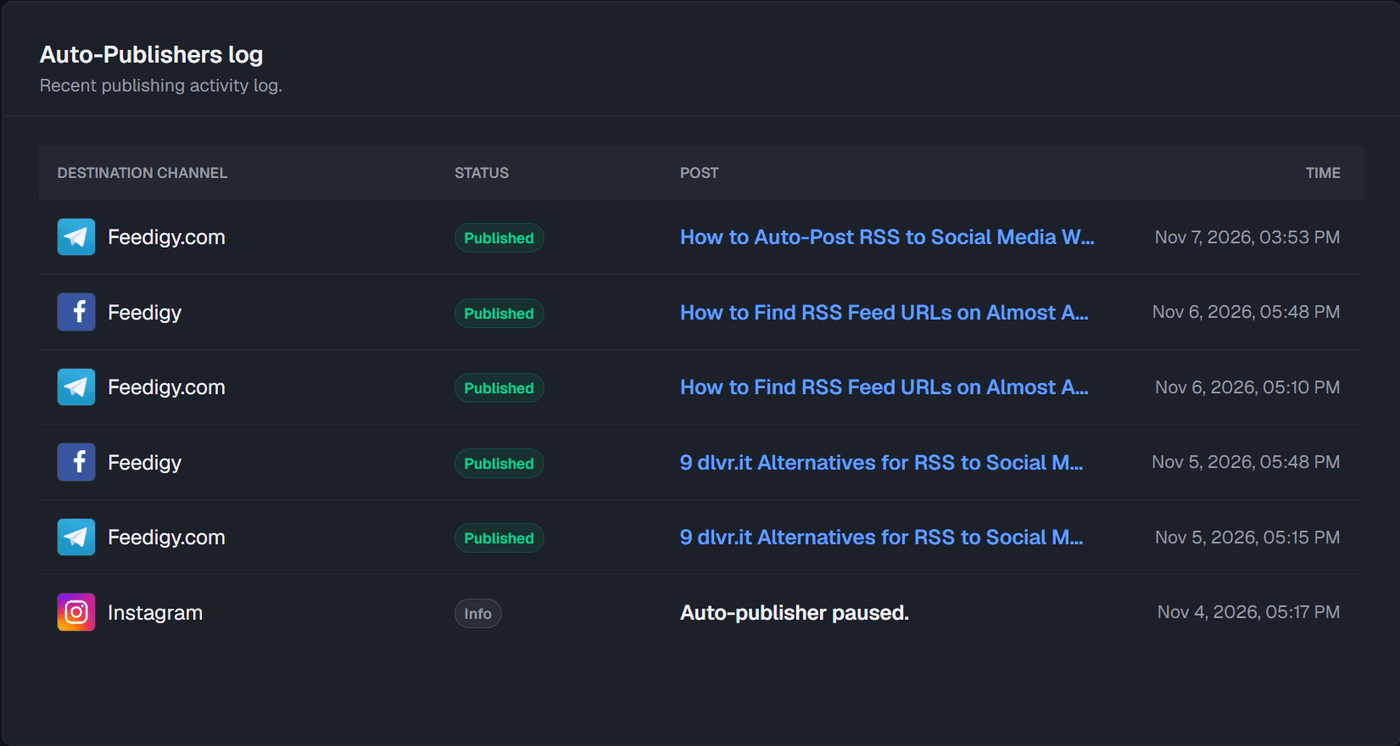
Each row has four columns:
- Destination channel: where the Auto-Publisher posts, with the channel’s icon. Point at the icon to see the Auto-Publisher’s name. Select the channel name to open that Auto-Publisher’s settings.
- Status: what happened.
- Published: the post went out.
- Draft created: the Auto-Publisher saved a draft for you to review.
- Info: a routine event.
- Warning: something needs a look, but publishing continued.
- Error: the post did not go out.
- Post: the post title. When the post is live, the title links to it on the channel.
- Time: when it happened.
Select the card title to open the full log on the Auto-Publishers page.
Analytics
Section titled “Analytics”The Analytics card is a placeholder. Post performance across your feeds and channels is coming soon.
Latest from Feedigy Blog
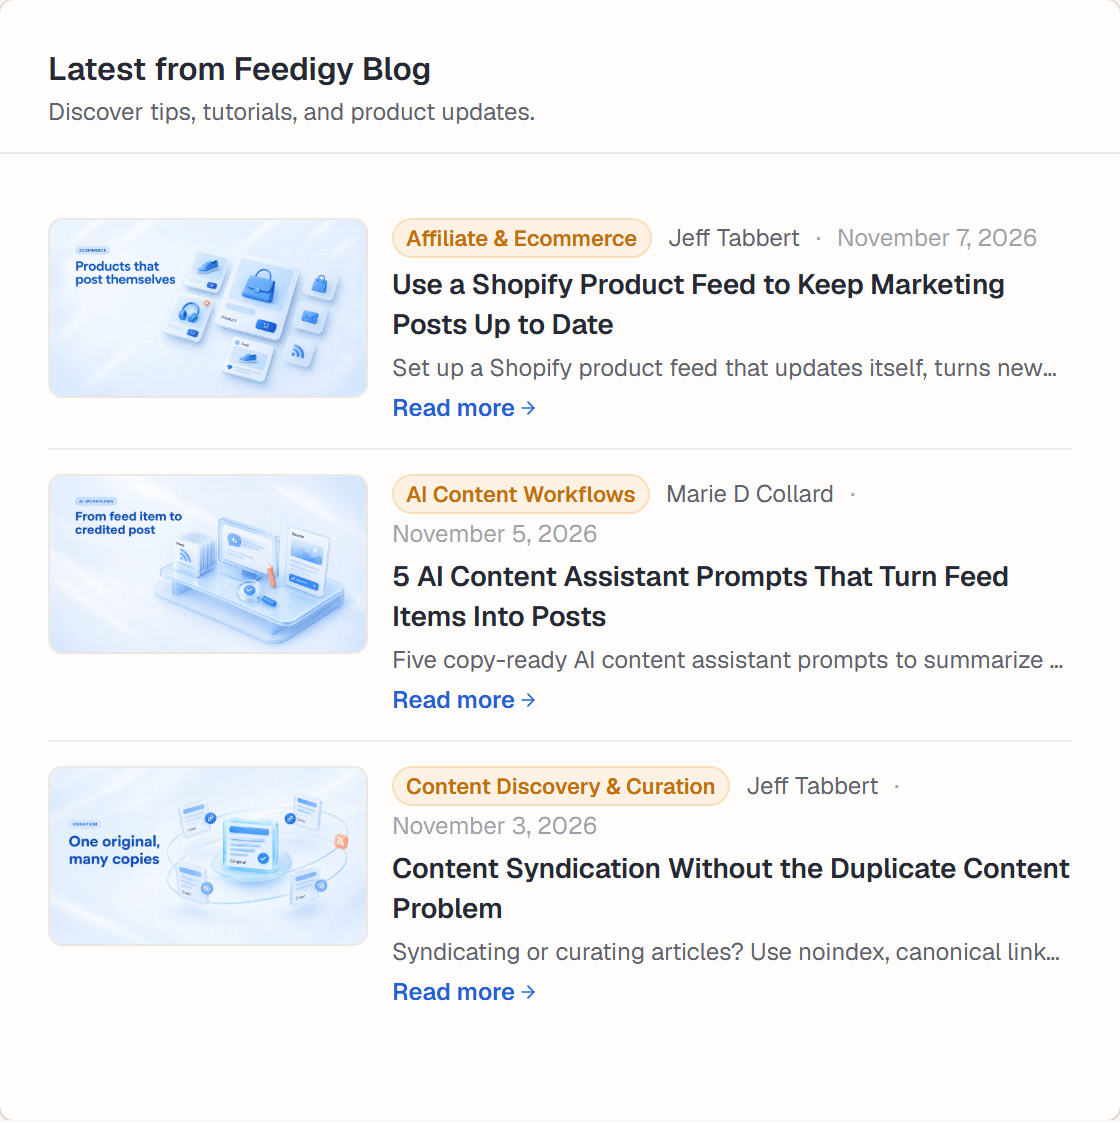
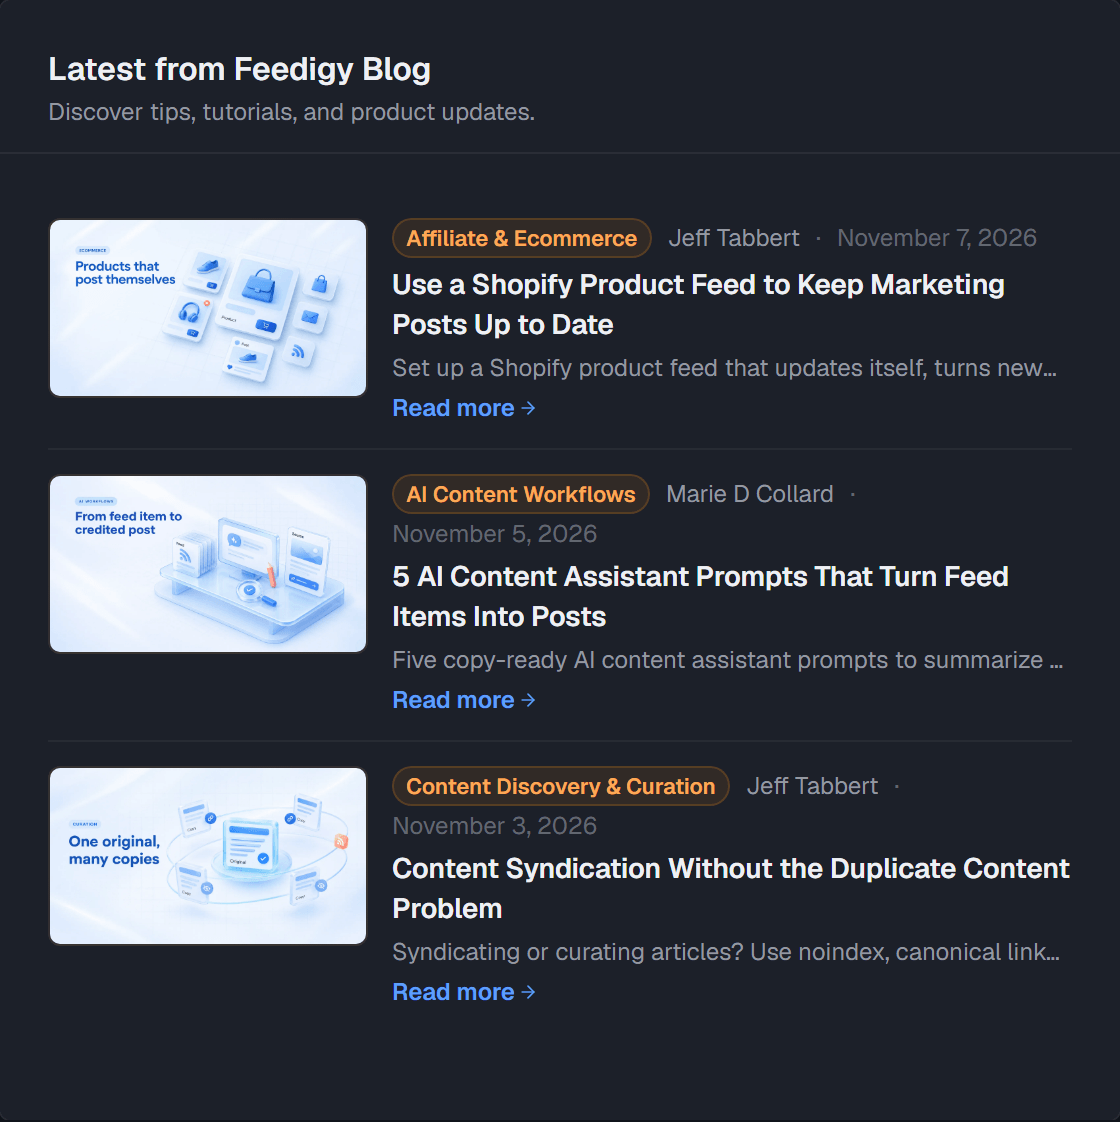
Section titled “Latest from Feedigy Blog”This card shows the three newest posts from the Feedigy blog: tips, tutorials and product updates. Each post shows its category, author, date and a short summary. Select a post or Read more to open it in a new tab.
Keep posting through busy weeks
Set sources, keywords and posting hours once. Feedigy posts to your channels while you work on other things.
No card required. The Free plan has no time limit.